Showing posts with label dress form. Show all posts

Friday, 25 November 2011

The Joan Process Dress, and how to draft darts on a dressform

One of the main reasons I was inspired to start sewing was my inability to get the clothes I wanted that fit me. the sort of dresses I had in mind were very fitted and brightly coloured and vintage in character. Lets face it, like pretty much every one else on the planet, I wanted to be Joan Holloway. She just wears such a stunning selection of fabulous form fitting clothes in gorgeous jewel tones.


Of course, being me, despite sewing, I have still not made anything remotely like this. Until now! When out with Hannah I picked up some lovely bright blue jersey (called Process Blue in the Pantone system apparently)  to have a stab at a Joan dress. 

The pattern I am using is one that I found in a bulk ebay order a while ago-in my size! Woman W400, a slim fitted dress for knits. I was particularly drawn to it as the lady has it in such a bright green. 

After my slightly disastrous prewashing, I cut out the pieces. I have bought a lot so that I can recut the front bodice if it all goes wrong. I cut out the skirt, back and sleeves as the pattern, but added 3 inches of length to the back bodice, as getting the waist in the right place is always worth checking.

Now I hate FBAs. They always seems to end up more trouble than they are worth, you faff and faff and it fits just as badly when you are done (this may just be me!). Luckily it can be all much more straightforward if you cut out the middle process and just fit on your body or a dress form. To do this, I extended parts of the pattern for the front before I cut it out. I added a little bit on at the waist (as I don't wear a corset) and then 1.5 inches at sides level with the bust (the amount the width was too small plus a bit) and added an additional3 inches to the length (in addition to the 3 inches for the overall length change as I did on the back). (If you zoom in on the image here you will be able to see what I did (the orange notes were reminders for me of how much I added)


I then sewed the shoulder seams to the back and put it on my dress form. Shapely no?


To be clear at this point, I have put the bodice on the correct way round, as I am making a pattern piece off this. If I am just going to sew it up, if I am doing a refashion for example, or its all going to be very fiddly, I put it on inside out, and then once you have pinned everything you can just sew it up.

I pinned the side seams at the bottom and top, leaving the bit that might be a side dart loose. I then assessed the back and arm hole bits to see if the rest fits. The back on mine is a little bunchy, and the arm hole is folding oddly, so will need to be included in the dart to take the excess out.


I then just pinched out the extra material to make the side dart. I am just trying to remove the excess from the extra length of the material at the side where it doesn't have to go over any boob. I am being careful here because it is a stretch material. As you can see I have pulled out some of the excess in the arm pit area and hence adjusted the bit at the top of the side seam I pinned at the start. (if you make big adjustments to this area remember so you can make corresponding changes to the sleeve). Pin along the seam, but use a pin to note where you want the point of the dart to end.


Do the same on the other side, it doesn't have to be exactly the same, but it should look the same on the body. If you are doing a muslin you can just do half and then repeat on the pattern. If you are not, you need to match the bust points and the direction of the dart so it doesn't look wonky. 
The area below the bust is still all baggy as you no longer need at the width of  material at this point. 


Pin the middle of the bodice so that it doesn't slip around. 

Then just pinch out the dart as you need. 


Once you have done both sides, you need to mark on where the waistband should be. Some people  mark the waist on the dress form but I find it more useful to have the markings on the outside of the clothes I am making.  I have a big piece of elastic that I just use like a belt so I can see how it will sit on the body. 
Once you have all this, mark on your lines with chalk, or baste along the seams if easier. 


Then take it off and unpin it, and lay your fabric over the paper pattern piece. Poke through with a pin along all the seams and then when you remove the fabric, you will have pin marks in the paper you can join together to mark your darts on the pattern. 


Now I just have to sew up the darts and then move on to the rest of the dress!

Monday, 23 May 2011

Roswell week day 7 (sort of), So long Sarong, Agnetha's legs and other stuff

Ok, so I fudged this, as I couldnt get anything done at the end of the week, I included Sunday afternoon too.


Item completed - So long Sarong
State before Roswell Week - taken in at the waist but not shortened
Reason for abandonment - The hem was all over the place and I couldn't be bothered to get my flat-mates to try and fix it on a stretch material. I also thought the waistband looked terrible, but on reexamination, it actually looks fine. I think the stretch fabric had warped my mind a little!
Time spent as an UFO - about 4 months
Time used to finish - about half an hour, after I had fixed Agnetha (see later)
"chump" factor felt for not having done it sooner - not too bad, whilst I only had to re-hem it, it was MUCH easier when I could use Agnetha. 

This is yet another item from the productive Shelter trip when I first started sewing. When I picked it up I thought it was a skirt, but I then realised that it was actually a rather odd sarong. I say odd, because more than half the material was in the front fold, so the whole thing was really weirdly unbalanced wight wise, and I am not really sure why you would want such a heavy jersey sarong.. (it would make more sense as a wrap skirt but that wasn't the way it was attached at the front. 


I cut it off the waistband, and cut the skirt into a rectangle without the odd tie bits from the front. I then sewed it up with a side seam, and reattached it to the waistband. So far so good, except that I somehow had managed to sew it on totally crooked so the hem was all over place. Plus I had forgotten to shorten it. At this point I gave up. I think my fear of stretch fabrics got the better of me. 

And so it sat for several months, even through the previous Spring Palette Challenge, when I planned to finish it and then continued to ignore it! 

But Roswell week was the line I wouldn't cross! I was puzzling at how to fix it, as my flatmates are a little cautious about hemming things, and the stretch made it more difficult. But then I had a brainwave, which I shall come to later, and managed to make Agnetha a stand! so I just popped it on her, chopped off the bottom and zigzagged it. Result. 

It isnt a very complicated refashion or skirt for all that delay, but it is a pretty cute jersey skirt, and I still love the colour and fabric. 


Item completed - Agnetha
State before Roswell Week - body made, but no stand (body phase 1, body phase 2)
Reason for abandonment - I couldn't think what to make a stand out of, I was considering a hat stand or something but I hadn't got round to doing anything, plus I couldn't think how to attach it. 
Time spent as an UFO - only a few weeks since I finished her body
Time used to finish - about 10 minutes once I had worked it out!
"chump" factor felt for not having done it sooner - ok, plus if I had tried before we got the new beds I wouldn't have had lots of spare plastic packaging to use. 

I couldn't work out how to make Agnetha a stand, which made it tricky to do dresses or skirts on her. We have been moving stuff round our flat a lot and as I shifted and tidied I found a lamp that I didn't need in the hall. It was just a standard IKEA lamp, but it had a very heavy base, and I realised that it would probably be robust enough to support Agnetha without continually falling over. Also, as it had big lamp bit on the top, I could use that to anchor the whole thing. I just stuffed the top of Agnetha with some plastic bags (we had some beds delivered and so we have had a lot of plastic packaging lying around!) and then popped her over the lamp. I then just filled up the gaps round underneath with more plastic bags and taped up the bottom. She leans very slightly backwards but is otherwise perfect! Also I marked my knee height on the pole with tape to make hemming easier. I am extremely pleased, she looks very fine and isn't as scarily huge looking now that she is the right height (though admittedly she now does appear to float magically in the air..).


Item completed - Napkins to match the Christmas picnic rug 
State before Roswell Week - had made one, 3 left to do
Reason for abandonment - Ran out of time before going to give them to my bro, and promised I would make the rest later
Time spent as an UFO - since Christmas
Time used to finish - about half an hour
"chump" factor felt for not having done it sooner - high, I should have done these ages ago, they aren't even slightly difficult. 


I also finished pinking the seams of the Christmas Dress, which was shamefully overdue. 


Wednesday, 13 April 2011

Finally Agnetha has arrived! Paper-tape dressform phase 2.


Now you may have noticed that about two months ago I started making a body double dress form to my own measurements. I got my flatmate Charlotte to cover me in brown paper tape, and then we cut it off and I had a model slightly bigger than myself. the whole thing was quite creepy and there are plenty of embarrassing pictures of the whole process in the original post here. Many people stick with that dressform, but it has a few problems, it's slightly bigger than you, as it goes around you, and you can't pin into it. Plus it doesn't exactly look very nice, either generally or in terms of highlighting your every flaw! So I decided to use the method described on Burdastyle to make another model using the first one as a mould.

I started this a while ago but got a bit distracted and the pieces have been sitting in my room half finished for ages, but as I was off ill today I thought I would try and finish it.

So I started with the first model, and cut it into two pieces down the sides. Here is one of them.


I lined each one with clingfilm, so as to not damage the mould with later wet layers. I then cut pieces of thin wadding and lined the curves of the moulds, this will be the outer pinnable layer, so you have to get it as close to the shape as you can. I sewed it down to the outer mould using big stitches so that it stayed in place.


Then I did another few layers of brown paper tape within the wadding. I found it easiest to go vertically up the body with the strips, so that you can get the curves. It sticks to the wadding as long as you get the first layer of tape quite wet, but not too strongly, do not worry about this you can stick it all down properly at the end. Once I had done a few layers of tape, and the shape is sorted, I made it stronger using some paper mache. The edges were the weakest bit so I put extra layers on there. As the original mould hadn't gone all the way to my shoulders or neck, I extended the inner cast at these points. the two pieces were not that rigid when cut in half so I propped books under them in places to stop them slumping under the weight of the tape.


Once it had all dried, I cut the extra edges off to match the mould, and cut off the stitches holding the two layers together from the outside.

This had all taken about 3 hours in work time, but and well over a month in actual time! (I really need to get better at keeping going with things!) I was pretty excited earlier today when I got to this stage and got to tip out the new pieces! I was slightly worried that it wouldn't have worked. But it came out beautifully!


The next step was to reassemble the pieces. I noted on each where the waist lines were from the old pieces, and lined them up on the two pieces. They had warped a bit when I was making them, so I had to squish them a bit so they lined up again. I then masking taped them together until it fit all round.


I then brown paper taped over the edges to make them strong. At this point the fact that the wadding doesn't stick that well is useful as you can pull it back to get the tape on smoothly.


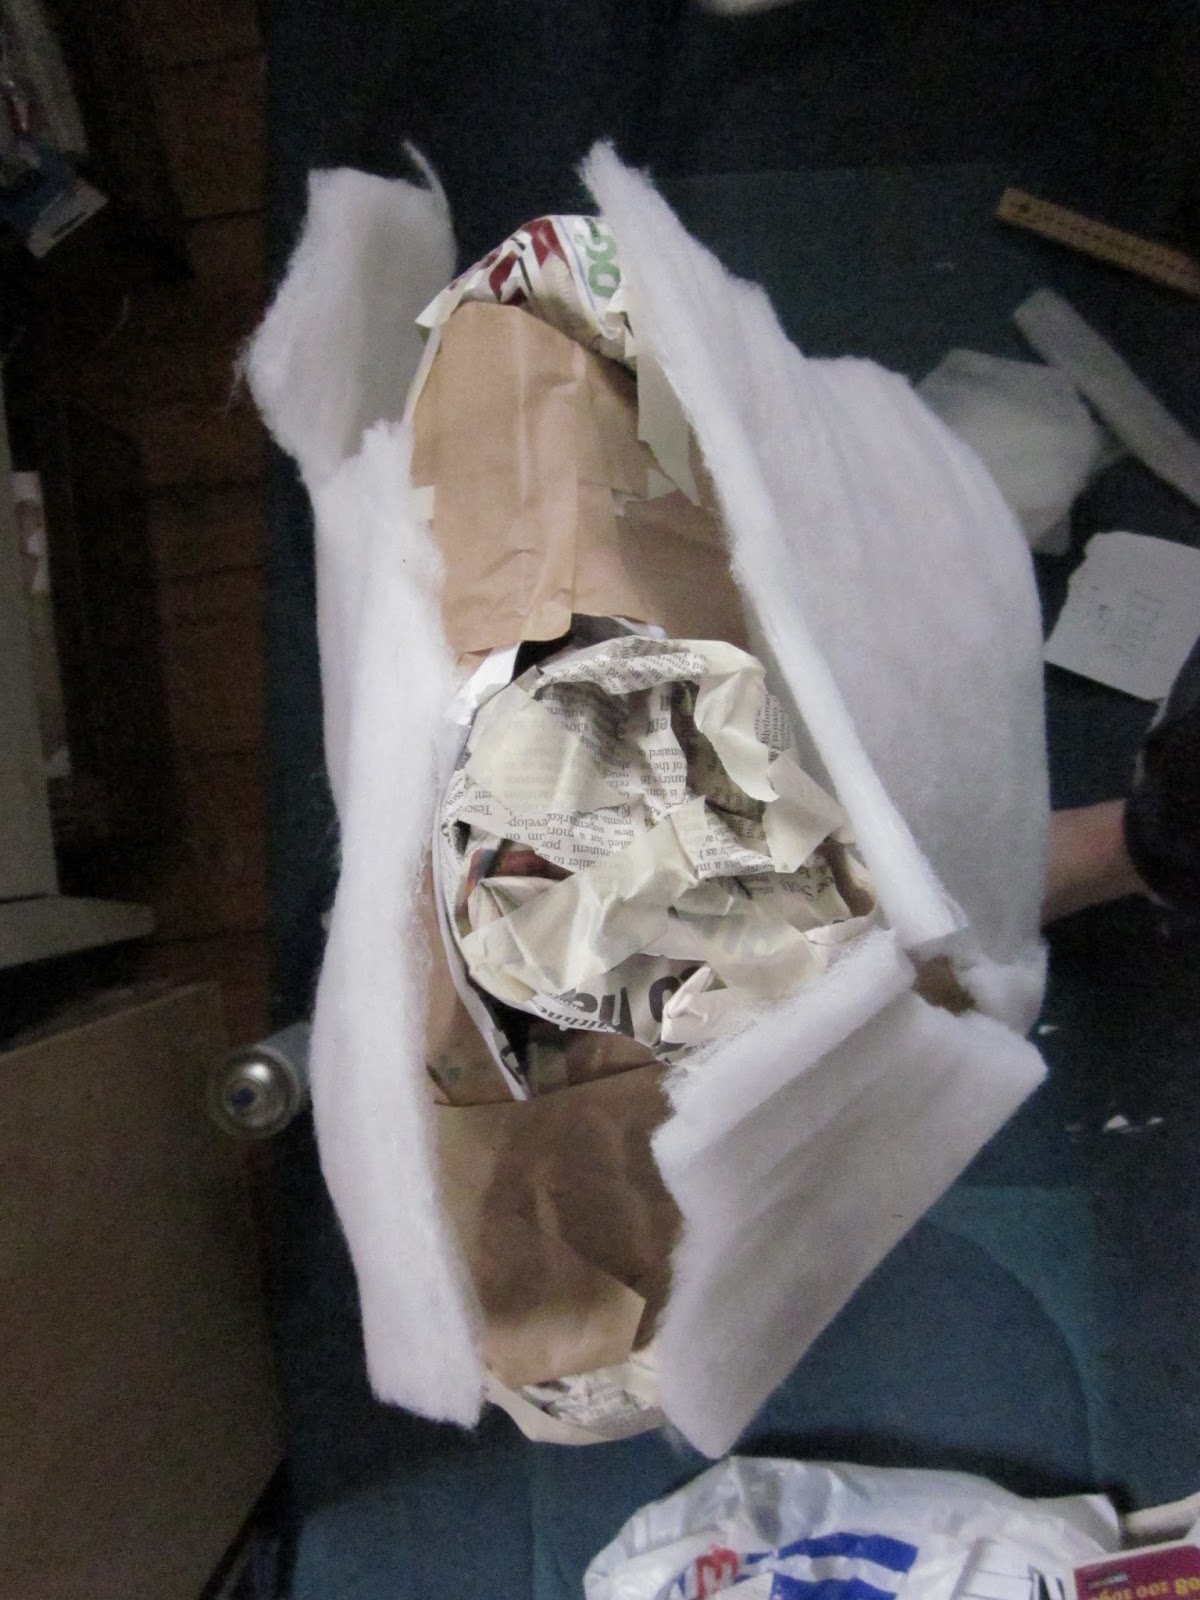
I rolled up newspaper into balls and used them to make the neck and shoulders. I didn't try and replicate the size of my arms, but just get the shoulder width right. I taped them on and covered them with brown tape.


I took my measurements and checked that the model was the same, which it was, except at the bust. I had clearly got a little squashed during the taping process. At this point the base was done, but the wadding was falling off and had lots of gaps. I cut pieces to fill in the gaps, and stuck them and the rest of the wadding on with spray glue. I cut extra pieces to puff up the bust area to match my measurements.


I then had to cover it. I couldn't find any instructions online, other than to cover it with a long sleeved jersey top. I didn't want to do that, so I used some light blue jersey fabric and made it up as a I went along! I pinned it to the front first, sticking the pins through the weaker side joins. I toyed momentarily with putting darts in when the stretch wasn't enough, but quickly decided that wold be to difficult and I would just fold it.

I then put on the back piece, folding it over at the joins and sewing it along the edges. I started at the top as that was the fiddliest bit and would give me a sound base for the rest.


I then pinned the side seams, and sewed them too. The stitching could be much neater, but it was rather fiddly getting it tight enough, plus I'm terrible at hand sewing!


As I am planning on finding/making /bodging some kind of stand for it, I left the bottom open and pinned the excess fabric up inside. Luckily however it stands up fine as it is.

But it looks awesome! As I did it all listening to ABBA (I watched Mamma Mia again and got a bit obsessed!) I have decided to call it Agnetha. She is lovely, and not nearly as depressing to look at as the brown paper one! (LATER EDIT- after staring at her for several hours I am now not so sure about the non depressing point! I think its just odd to see your figure so still...) She looks rather lumpy around the bust, due to the additional stuffing, but will be excellent to fit things on. And she is a pretty colour, and matches my spring palette!


It's very weird looking at her. She is definitely rather pneumatic looking! But I am very pleased! Here is me hugging her. Most people cannot say they have properly hugged themselves!

UPDATE I eventually put her on a stand and she looks great! (See more here).


Saturday, 26 February 2011

Paper tape dress form - phase 1!


This post used to be a lot longer, but I deleted it and don't seem to have kept a copy. So I'm recapping now so people can replicate the sheer madness involved in this! I hope you guys know how much I'm doing for you here though as these pictures are truly horrible and they pain me considerably!

I wanted a personalised dressform. To fit me exactly. Now there are various ways of doing this, but I decided to go with the gummed paper tape approach, as this allows the form to keep its shape as the paper  sets to a rigid shape.

Now in theory this is very straightforward. You wear as few clothes as possible, wrap yourself in clingfilm so that it doesn't stick to you and then wrap wet strips of the tape around you. Once you have done a few layers you wait about half an hour until its dry and then cut it off -instant dressform!

In reality - its not quite as easy as all that! You need at least one helper to wrap you up in the tape - it's not possible to do it yourself. As you get quite restricted after a while you could also do with another helper to cut and wet the tape.

It is also completely hilarious to do! Having anyone smooth wet tape over your whole torso for an hour or so is rather intimate. You have to be very careful as well as you don't want to squash any parts as then it wont be accurate.

But it is very effective! Having said that - it is hideous, and has holes in it and you cant pin in to it. After I completed this stage I went on to some further steps to make it  better  -see my next post.

I shall leave you with some pictures of the general hilarity!